Coastal Shiplap Wall Installation
The client wanted a shiplap wall to brighten the living room.
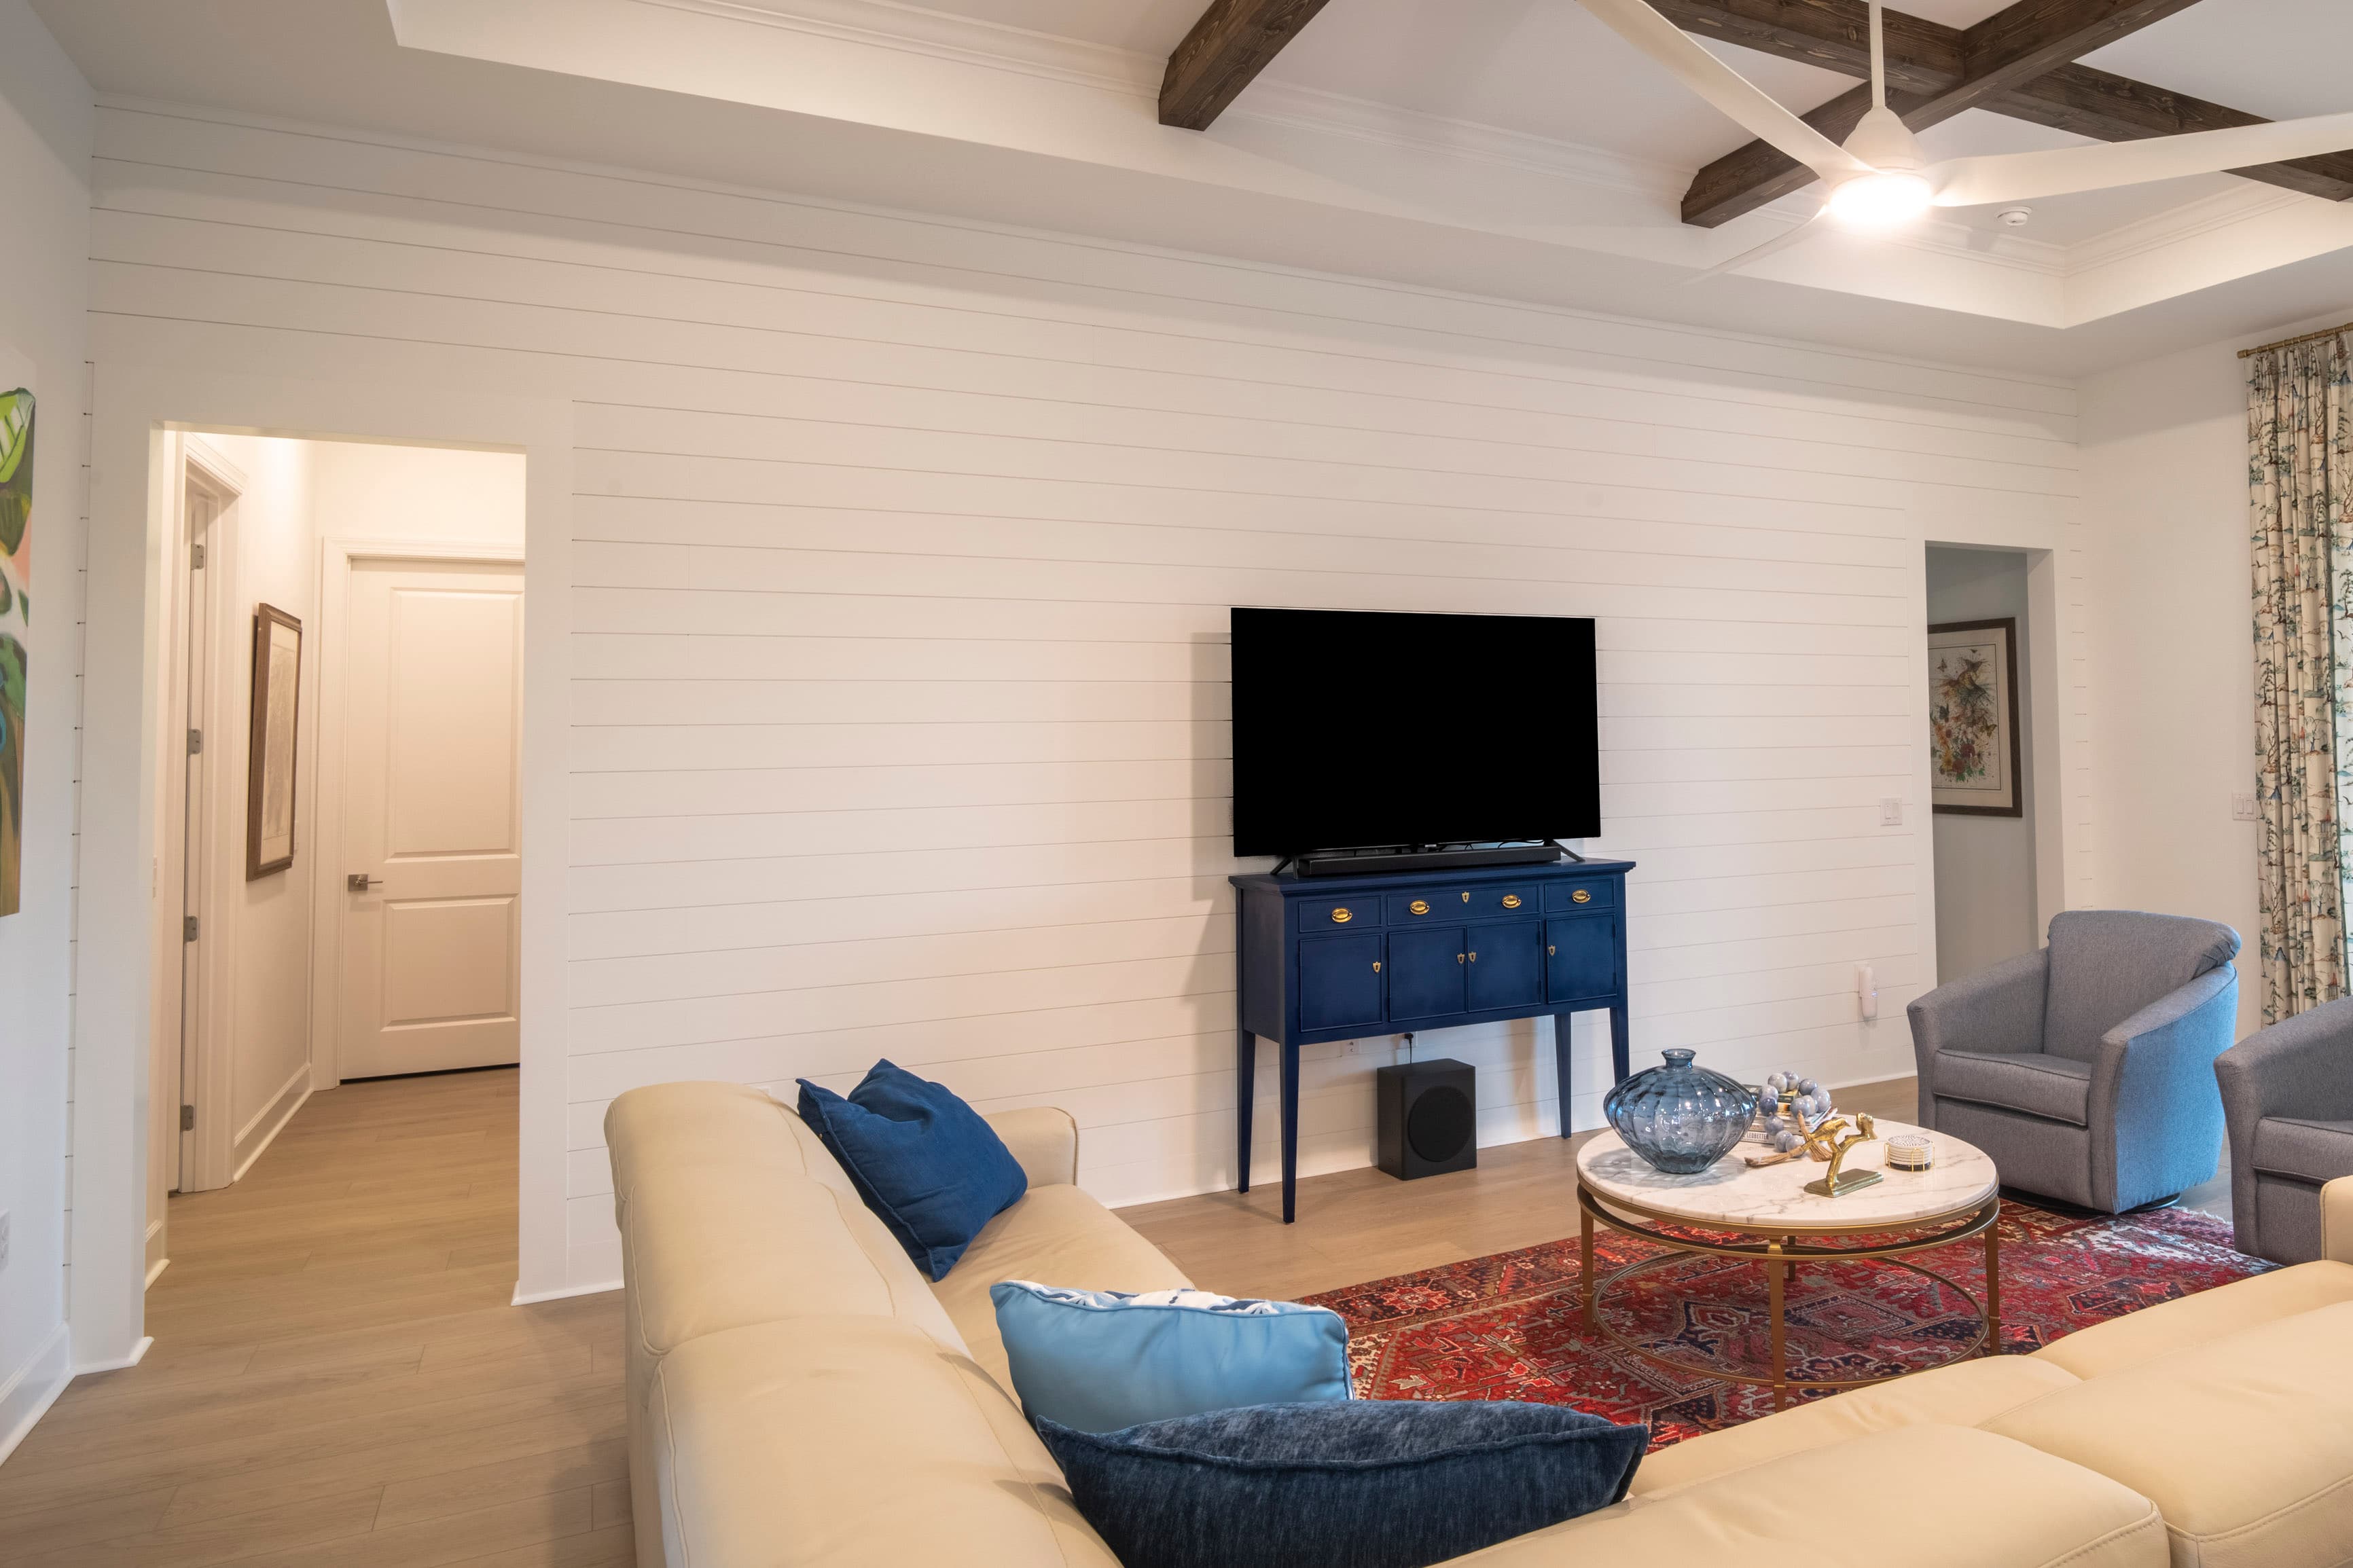
We installed painted shiplap boards with consistent spacing and tight joints.
The finished wall works as a backdrop for furniture and art.
Phase 1
Wall Preparation
Removed floor trim and prepped the wall surface.

Phase 2
Board Installation
Boards glued and nailed with consistent spacing.

Phase 3
Outlet and Switch Cutouts
Openings cut for outlets and switches. Edges routed clean.

Phase 4
Custom Door Trim
Boards cut and fit around the doorway for a built-in frame.
Phase 5
Finishing Touches
Joints caulked and painted.